
Installing Your New Aquarium Background
HOW TO INSTALL VINYL CLING ON THE BACK OF AN AQUARIUM
Installing a vinyl cling on the back of your aquarium can significantly enhance the aesthetic appeal of your aquatic environment. It not only adds a backdrop that highlights your fish and plants but also hides wires and equipment that can distract from the beauty of your setup. This guide aims to walk beginners through the process of applying vinyl cling to an aquarium in an informative and professional manner.
Preparation
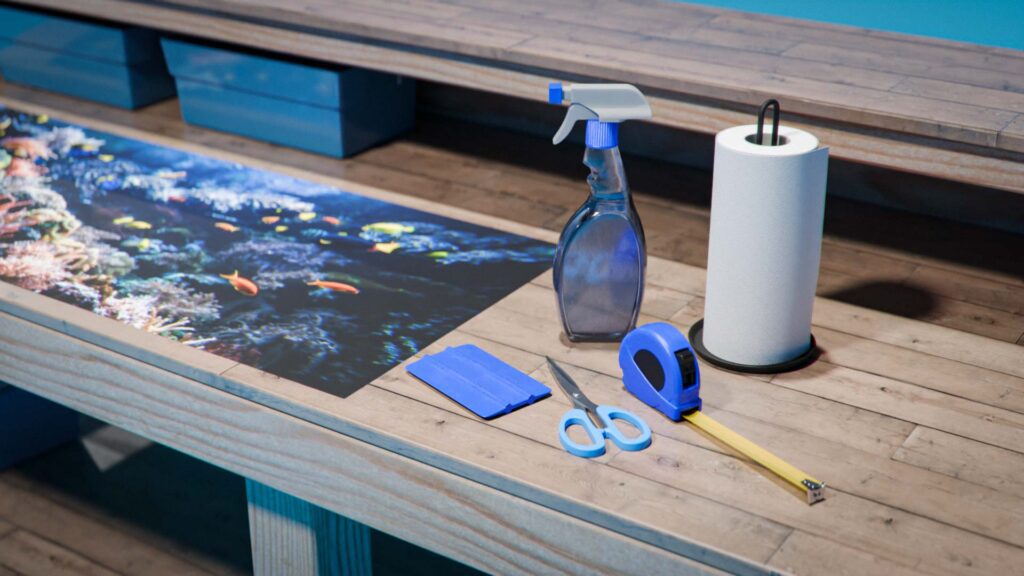
Tools and Materials Needed:
- Vinyl cling film
- Scissors or a utility knife
- Ruler or measuring tape
- Squeegee or credit card
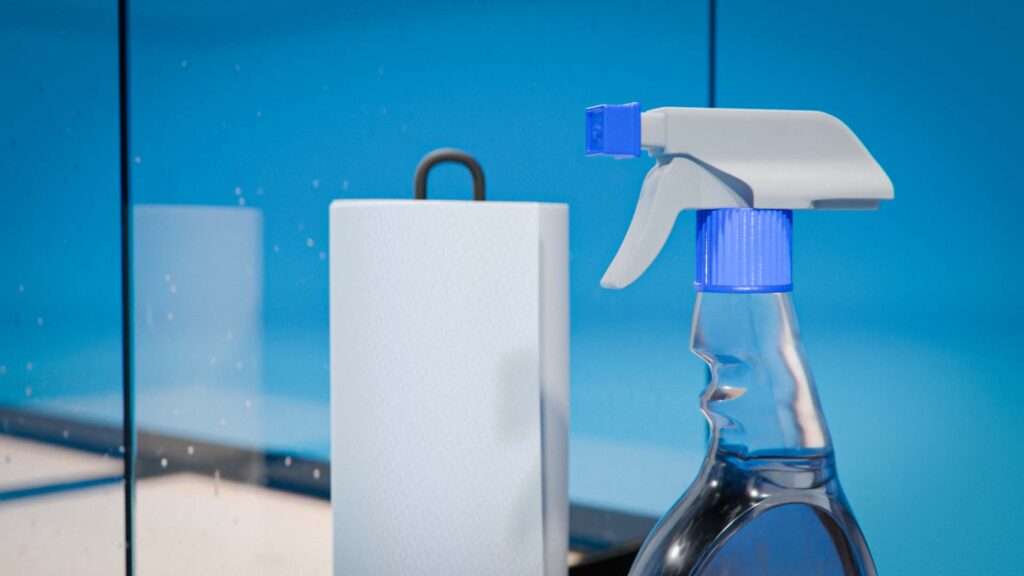
- Lint-free cloth or paper towels
- Glass cleaner or a solution of mild dish soap and water
- Spray bottle (optional)
Preparing the Workspace and the Aquarium:
- Select a clean, flat surface near the aquarium for laying out and cutting the vinyl cling.
- Move the aquarium to a location where you can easily access the back glass. Ensure it is empty and disconnected from all electrical equipment.
Cleaning the Glass
- Remove any existing background from the back of the aquarium.
- Thoroughly clean the outside of the back glass using a lint-free cloth and glass cleaner or soapy water. Ensure all dirt, grime, and oily residues are completely removed.
- Dry the glass thoroughly with another clean, lint-free cloth or paper towels.
Trimming Vinyl Cling
- Measure the height and width of the back of your aquarium.
- Roll out the vinyl cling on your prepared flat surface and mark the measurements using the ruler and a non-permanent marker.
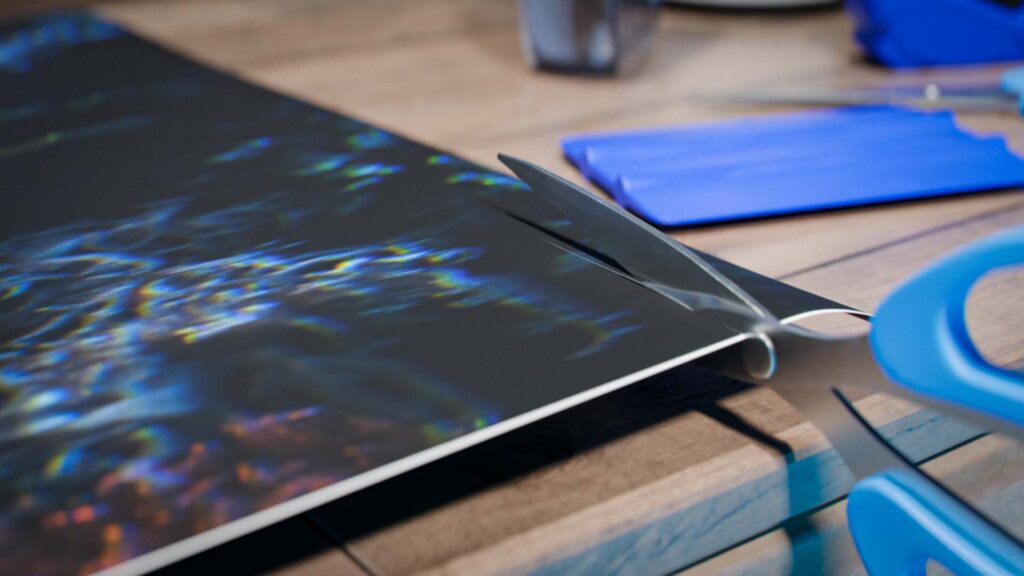
- Carefully cut the vinyl cling to size using scissors or a utility knife. Ensure the cuts are straight and precise.
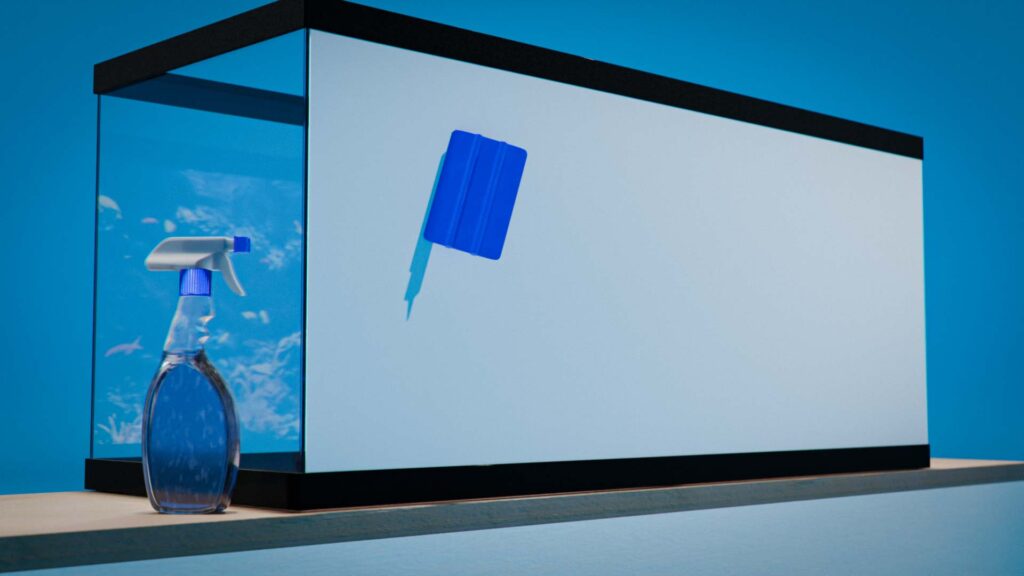
Applying the Vinyl Cling
- Peel a corner of the vinyl cling to start. If it’s a static cling type, moisten the vinyl and the aquarium glass with a light mist of water from the spray bottle or with a damp cloth. This helps prevent air bubbles and allows repositioning.
- Carefully align the top edge of the vinyl cling with the top of the aquarium glass. Gently apply the cling to the glass, smoothing it out as you go.
- Use a squeegee or a plastic card to smooth out the vinyl and eliminate any air bubbles. Start from the center and work your way outward. If air bubbles are trapped, gently lift the cling and reapply.
- For adhesive clings, apply from one side to the other slowly, peeling the backing as you go, and use the squeegee in the same manner to avoid bubbles.
Finishing Touches
- Once the vinyl is in place, inspect the installation for any bubbles or wrinkles. Use the squeegee to work them towards the edges.
- Trim any excess material from the edges using the scissors or utility knife, being careful not to cut into the vinyl on the glass.
- Clean the front side of the vinyl with a clean cloth and a mild glass cleaner to remove any fingerprints or smudges.
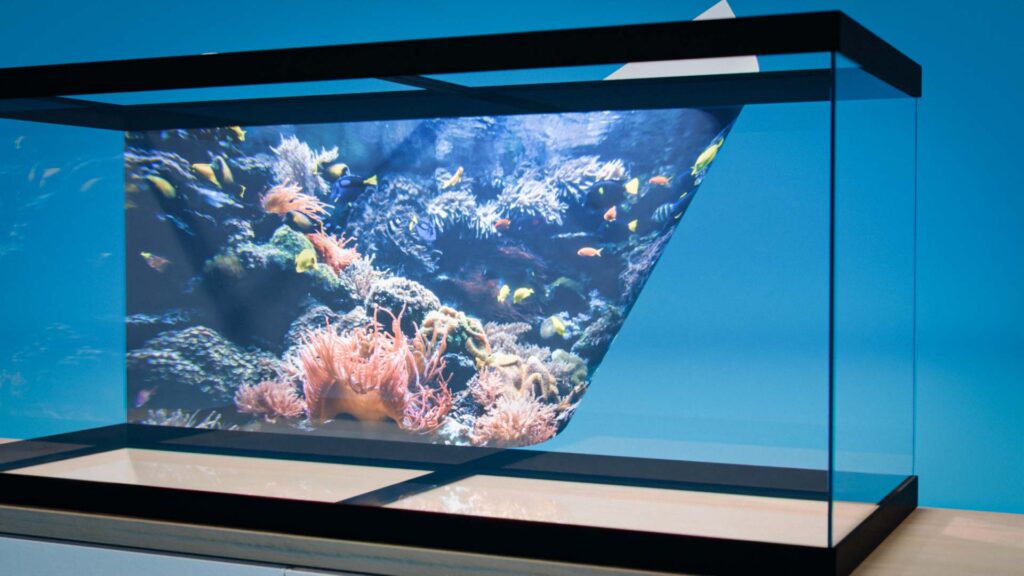
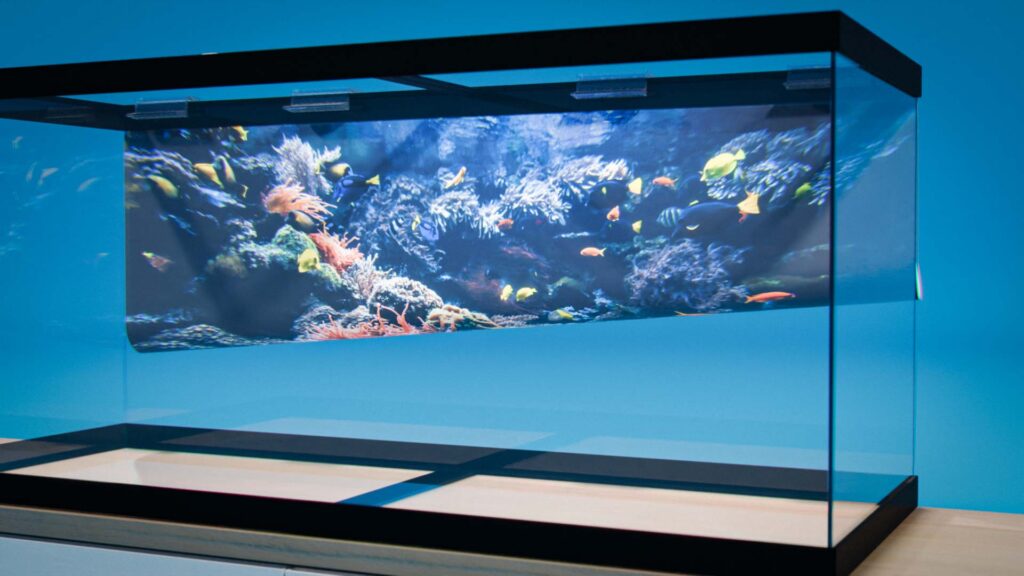
Congratulations! You have successfully installed vinyl cling on the back of your aquarium, creating a beautiful backdrop for your aquatic setup. This new background will not only enhance the visual depth of your aquarium but also hide any unsightly wires or equipment. Remember, the key to a successful installation is patience and careful attention to detail. Happy fishkeeping!
How to Use Stay-Flat Smooth Vinyl with Aquarium Clips
Applying stay-flat smooth vinyl to the back of your aquarium can significantly enhance its visual appeal without the mess associated with adhesives. This guide will explain how to securely attach stay-flat vinyl to your aquarium using clips, an ideal solution for beginners seeking a clean and changeable background option.
Preparation
Tools and Materials Needed:
- Stay-flat smooth vinyl
- Aquarium clips (ensure compatibility with your tank’s thickness)
- Scissors or a utility knife
- Ruler or measuring tape
- Lint-free cloth or paper towels
- Glass cleaner or mild dish soap solution
Preparing the Workspace and the Aquarium:
- Choose a clean, well-lit area to measure and cut your vinyl.
- If possible, move the aquarium to a space where you can comfortably access the back glass. Ensure the tank is empty and removed from electrical sources for safety.
Cleaning the Aquarium Glass
- Strip the back glass of the aquarium of any existing backgrounds or residue.
- Clean the glass using a lint-free cloth soaked in glass cleaner or a soap water solution, eliminating all traces of dirt and grease.
- Wipe the glass dry with another clean, lint-free cloth to prevent water marks.
Trimming Smooth Vinyl
- Measure the height and width of your aquarium’s backside.
- Unroll the stay-flat vinyl on your work surface. Transfer the aquarium measurements onto the vinyl, marking lightly with a pencil.
- Using scissors or a utility knife, cut the vinyl according to your measurements. Ensure the cuts are straight and clean.
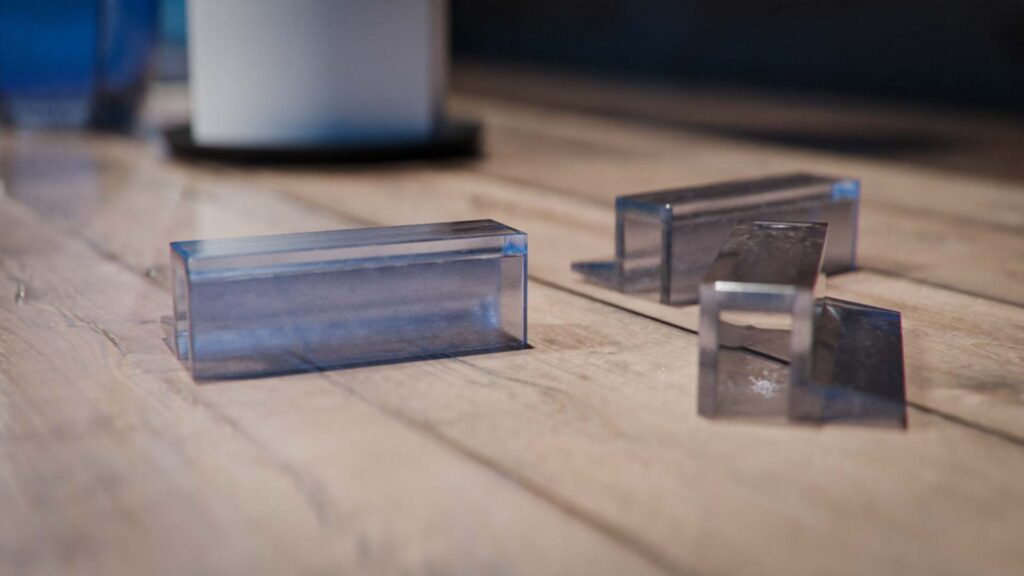
Attaching the Aquarium Clips
- Position your aquarium clips along the top edge of the aquarium’s backside. Space them evenly to provide uniform support for the vinyl.
- Secure each clip in place by snapping or sliding them onto the edge of the glass. Make sure they are firmly attached and correctly aligned.
Installing the Vinyl
- Gently slide the top edge of the cut vinyl into the aquarium clips, starting from one side and carefully moving to the other.
- Once the top edge is secure, adjust the vinyl, ensuring it is straight and centered.
- Continue to gently press the vinyl against the glass, smoothing out any wrinkles by hand. The stay-flat nature of the vinyl should help it lay smoothly.
- Attach additional clips to the bottom of the aquarium if necessary, to secure the vinyl firmly in place.
Finishing Touches
- Examine the vinyl for any misalignments, bubbles, or wrinkles. Adjust as necessary by gently pulling the vinyl taut and resecuring it under the clips.
- Trim any excess vinyl from the sides using scissors or a utility knife, being careful not to scratch the glass.
- Clean the front side of the vinyl using a soft, damp cloth to remove fingerprints or dust.
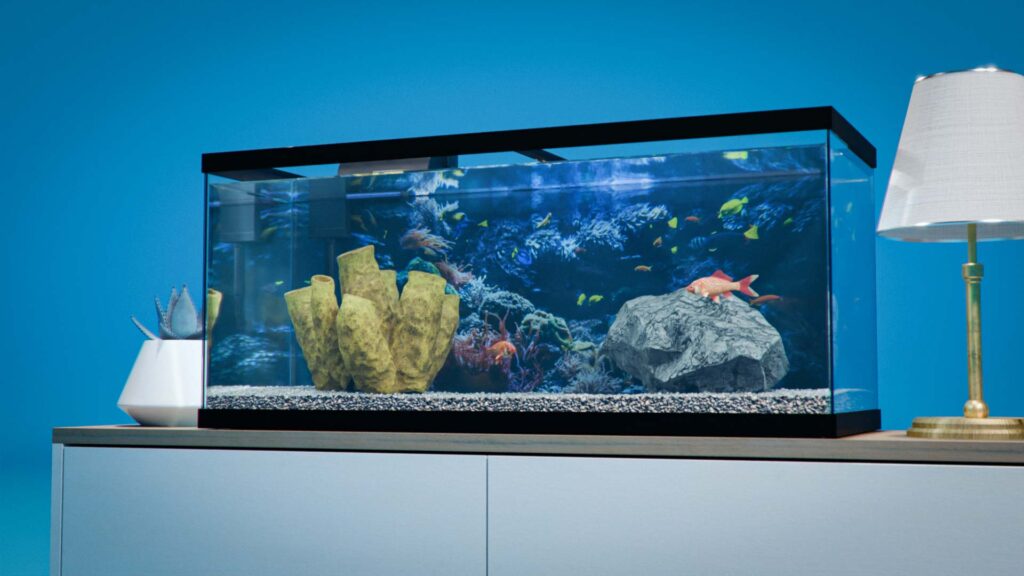
You have now successfully installed a stay-flat smooth vinyl background to your aquarium using clips. This method offers a neat, easily changeable backdrop that enhances the beauty of your aquatic environment without the use of adhesives. With this simple setup, you can easily update or change your aquarium’s background to suit your evolving aesthetic preferences. Enjoy the new view, and remember, the best aquarium is one that reflects your unique style and the natural habitat of your aquatic friends.